
Introduction
This script will provide an introduction to team collaboration in software development and give a short overview over the involved tools and practices.
| Due to the restricted amount of time available we limit ourselves to the bare minimum of information required to get up to speed for simple projects. Some of the shown practices here have some drawbacks so that more advanced software projects usually augment and modify them with additional practices. |
A team comprises a group of people or other animals linked in a common purpose. Human teams are especially appropriate for conducting tasks that are high in complexity and have many interdependent subtasks.[1]
When developing software in a team some very fundamental challenges arise:
-
How to share code? — A software project usually involves building one or more systems that are built from one or more codebases. In a team the individual members will have to interact and modify it. To keep track of the individual changes a so called Version Control System[2] is used. We’ll cover this in Version Control Systems.
-
How to share tasks? — The development of a software system is usually split up into individual tasks: implementing a feature, fixing a bug etc. These tasks are usually kept in an issue tracker that allows to capture the requirements and track progress.
-
How to connect the former with the latter? — Very often, tasks are directly related and even connected to changes in the codebase by some means. Tracking issues discusses how to capture tasks and connect them with changes.
-
Documentation? — Software projects require documentation to make sure decisions made during the development process can be understood. We’re going to discuss a very pragmatic approach for this in Documentation.
Objectives
After working through this script you should’ve done — or at least be able to do the following things:
-
Install Git and a Git UI client on your development machine.
-
Create a Git managed project on your local hard drive.
-
Create a Github account and fork the Guestbook sample project.
-
Clone your Guestbook sample repository to your local machine.
-
Setup your Guestbook fork for CI builds with Travis.
1. Version Control Systems
Version Control Systems[2] (VCS) allow tracking changes to content of arbitrary type. They’re usually used to track source code and related artifacts. VCS allow keeping track of who changed what and why by introducing the notion of a commit, a set of changes to the repository attributed to an author and a textual description of the change. The most prominent VCS these days is Git[3], but other systems like Mercurial, SVN, CVS, ClearCase or Perforce might cross your paths.
1.1. Git
Git is a distributed version control system brought to life by Linus Torvalds. In Git commits are identified by a SHA-1 and refer back to their ancestor commits.
Git can be installed by downloading the binaries from the project website or like this:
1.1.1. Quickstart
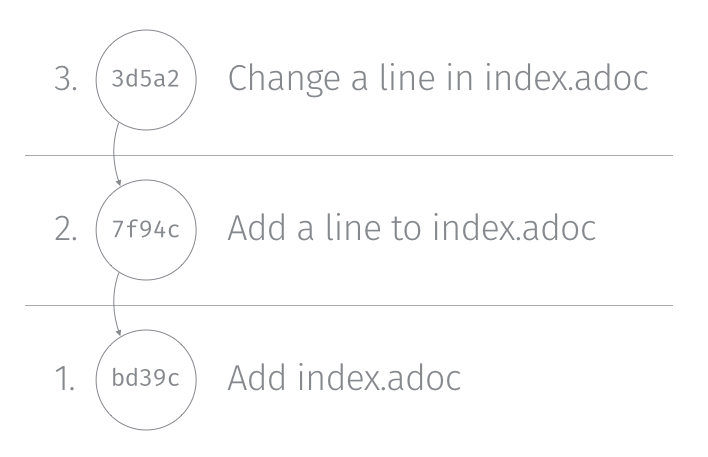
$ mkdir git-sample && cd git-sample(1)
$ git init (2)

Initialized empty Git repository in /…/.git/

$ touch index.adoc (3)
$ … (4)
$ git add . (5)
$ git commit -m "Initial commit." (6)

[master (root-commit) 7cc7a34] Initial commit.
 1 file changed, 1 insertion(+)
 create mode 100644 index.adoc

$ git log (7)

commit 7cc7a34f45db1f534a2b90c359429b52ea8e4c94
Author: Oliver Gierke <info@olivergierke.de>
Date:   Wed Jun 3 13:57:07 2015 +0200

Initial commit.| 1 | Create directory and move into it. |
| 2 | Initializes a Git repository locally. |
| 3 | Creates a file index.adoc in the current directory. |
| 4 | Edit the file. |
| 5 | Add all files to the staging area (what is about to be committed). |
| 6 | Commit the changes. |
| 7 | Show the changes in the repository. |
At this point we have made and commited changes to the local repository.
1.1.2. Branches
Chains of commits form so called branches. Branches are created for a variety of purposes:
-
Feature branches — these rather short lived branches are created temporarily to isolate independently ongoing work from one another. They allow to control the point of integration of distinct development streams. As merging (see Merges) them back together becomes more complicated the more they diverge from each other, care has to be taken to regularly rebase them and keeping the features small.
-
Maintenance branches — these rather long lived branches are used to separate pure maintenance work from ongoing development that might introduce new features. Maintenance branches are used in Software Configuration Management[4] (SCM) to manage the release and maintenance of different versions of a piece of software.
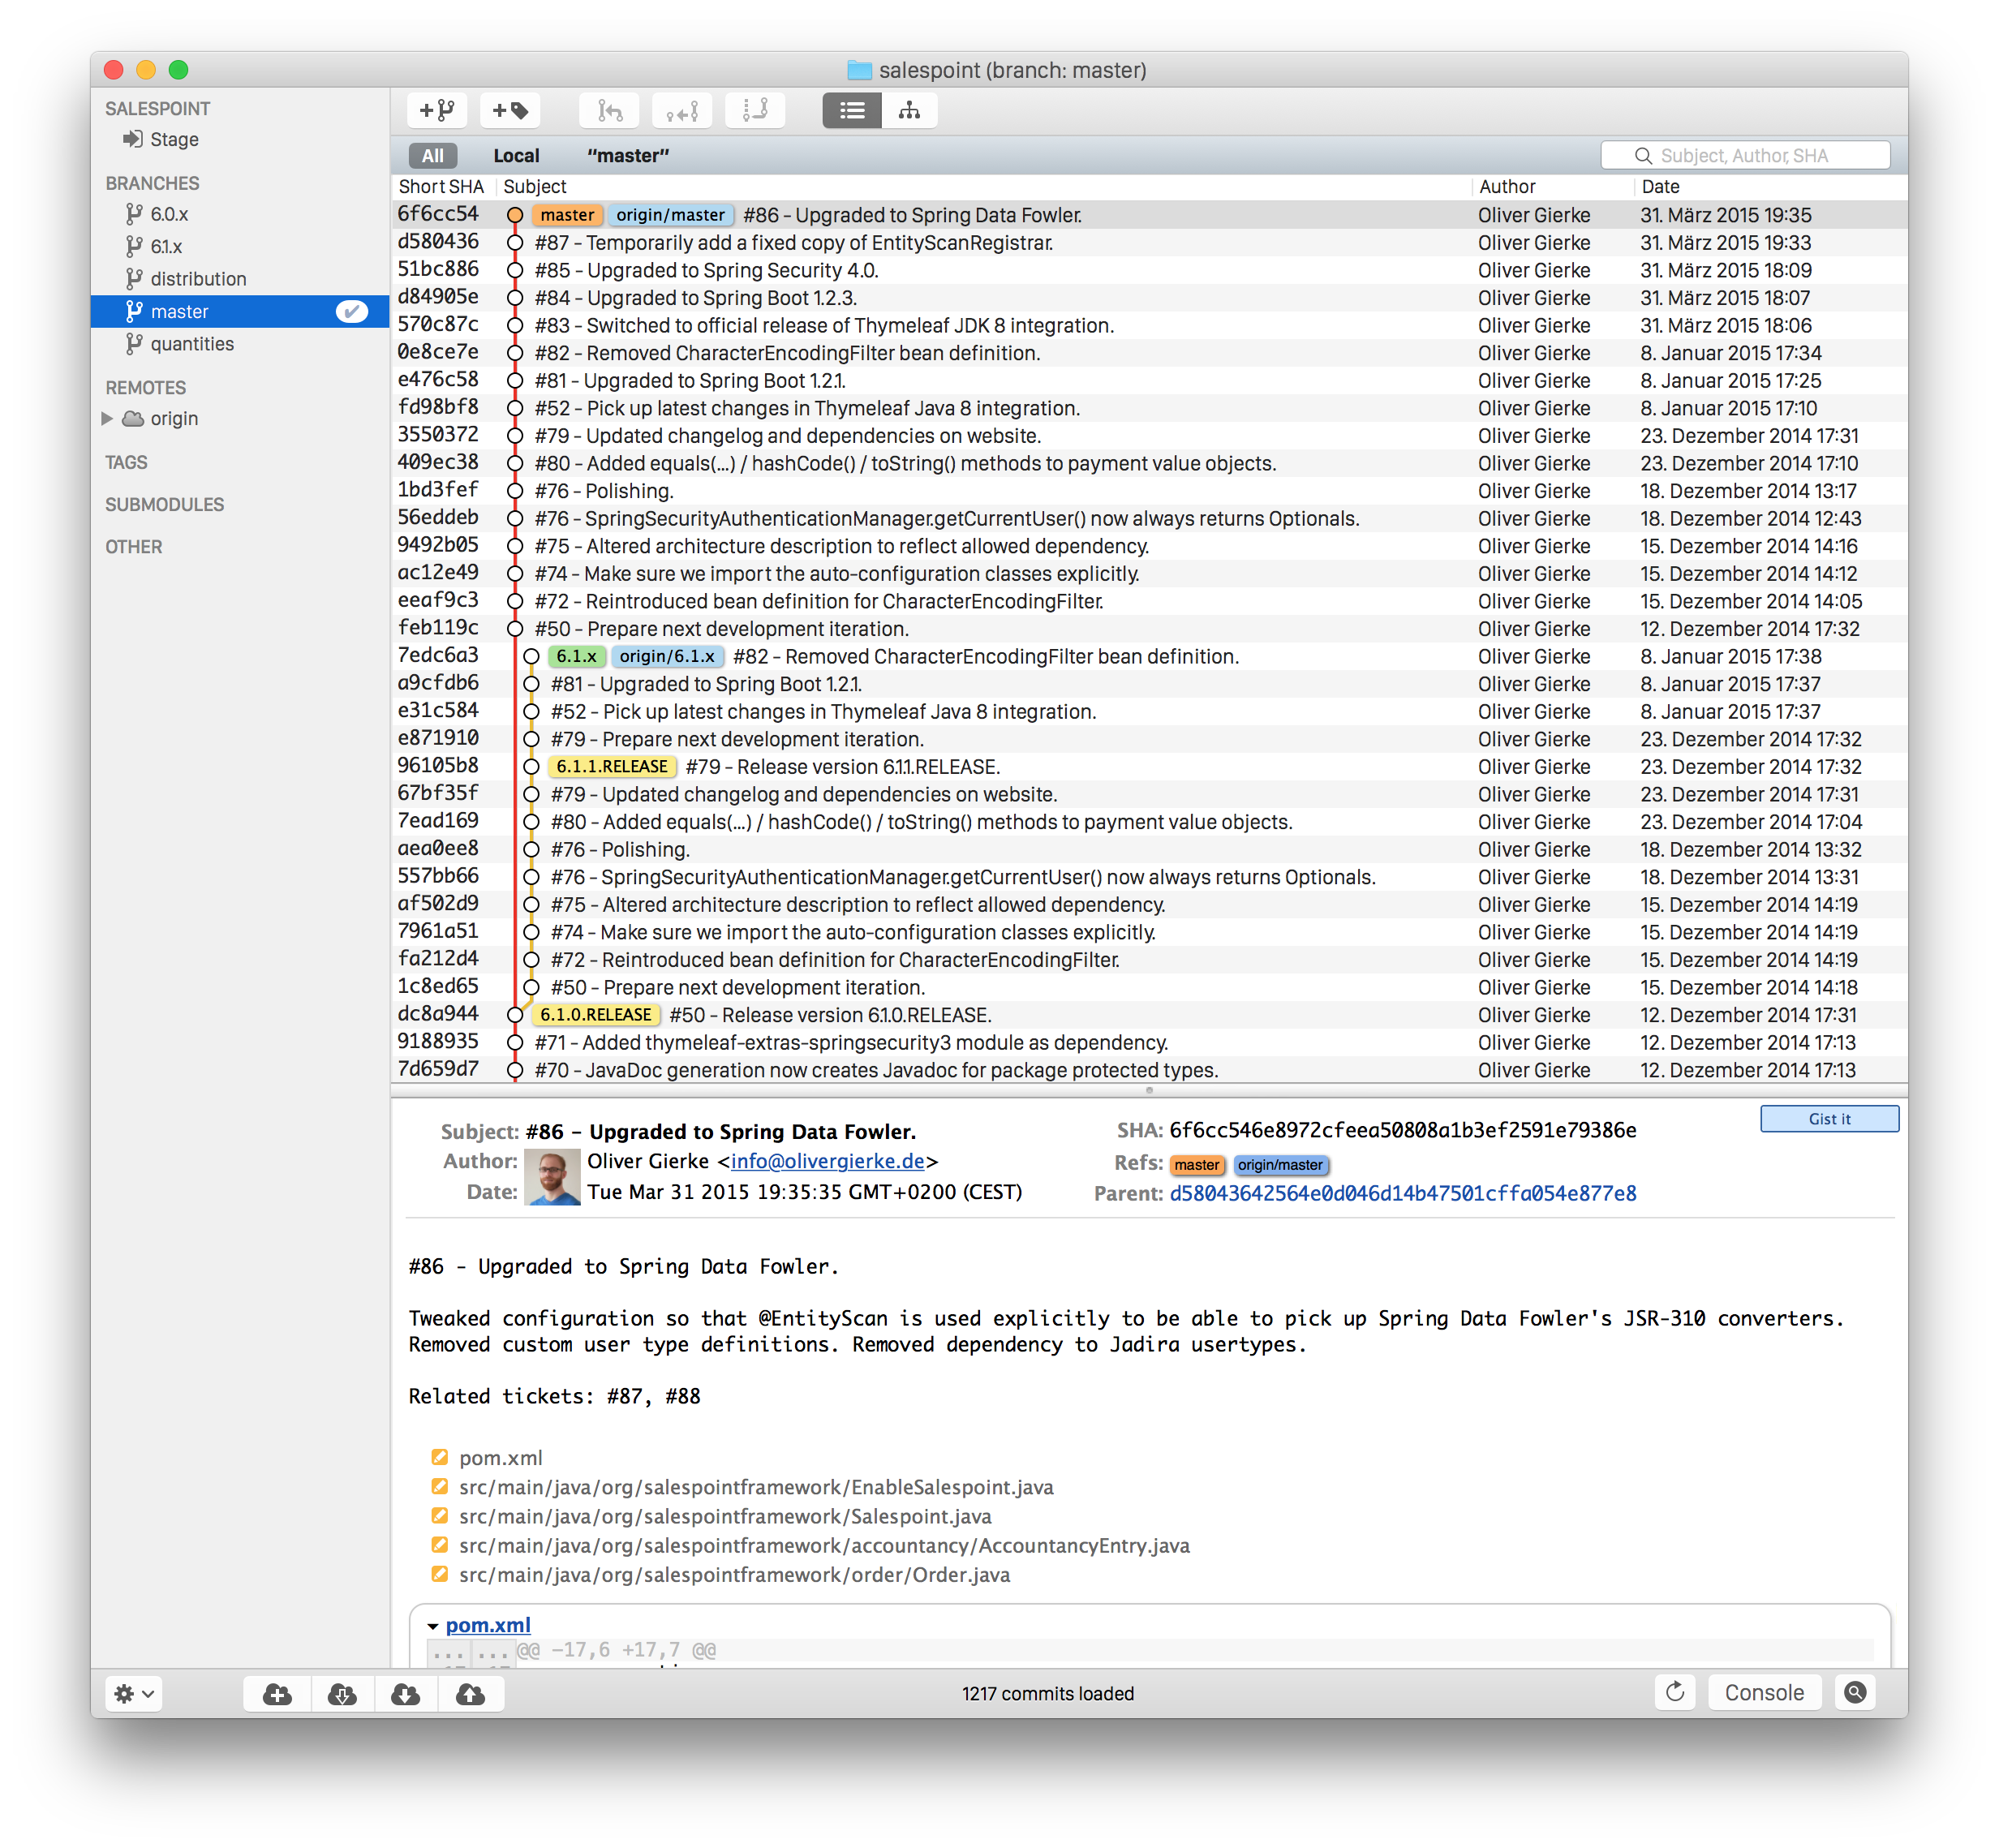
The screenshot above shows the commit history of the Salespoint library in the MacOS Git UI client GitX (read more on Git UI tools in Tools). Each row in the main view represents a single commit: its SHA-1 hash, the commit message summary, the author as well as the date of the commit. The colored labels represent branches (orange: currently checked out branch, green: other local branches, blue: remote branches (see Interacting with a remote repository for details)) or tags (yellow). A tag is a reference to a particular state of the repository and usually used to indicate the commit that has been used to craft a release of a piece of software.
As you can see, commit dc8a944 has two subsequent commits feb119c and 1c8ed65. dc8a944 is the point where the 6.1.x branch was branched of the main development line.
It’s not by accident that this is also the commit that’s tagged with 6.1.0.RELEASE as it marks the starting point of the maintenance branch, which has seen a bugfix release in commit 96105b8.
1.1.3. Interacting with a remote repository
Git is a distributed VCS, which means that clones of a repository can and will exist in different locations. The most rudimentary setup is a canonical remote repository usually hosted by a Git server as well as local repositories on the individual developer’s machines. This creates the challenge to synchronize sets of commits between individual repositories.
$ git remote add origin https://… (1)
$ git push origin master (2)
$ git pull origin master (3)| 1 | Adds a remote repository reference named origin to the local one. |
| 2 | Pushes the local commits of the current branch to the remote branch named master in the repository named origin. |
| 3 | Pulls commits made to the master in the remote repository into the current branch. |
1.1.5. Tutorials
-
Git - The Simple Guide - Roger Dudler
-
Distributed Version Control with Git - Lars Vogel (esp. chapters 1, 2).
-
Git Version Control with Eclipse - Lars Vogel
2. GitHub
Build software better, together.
GitHub is a Software As A Service[5] (SAAS) platform for collaborative software development. It allows to host Git repositories, track issues and host documentation and release binaries. It provides free service for public repositories
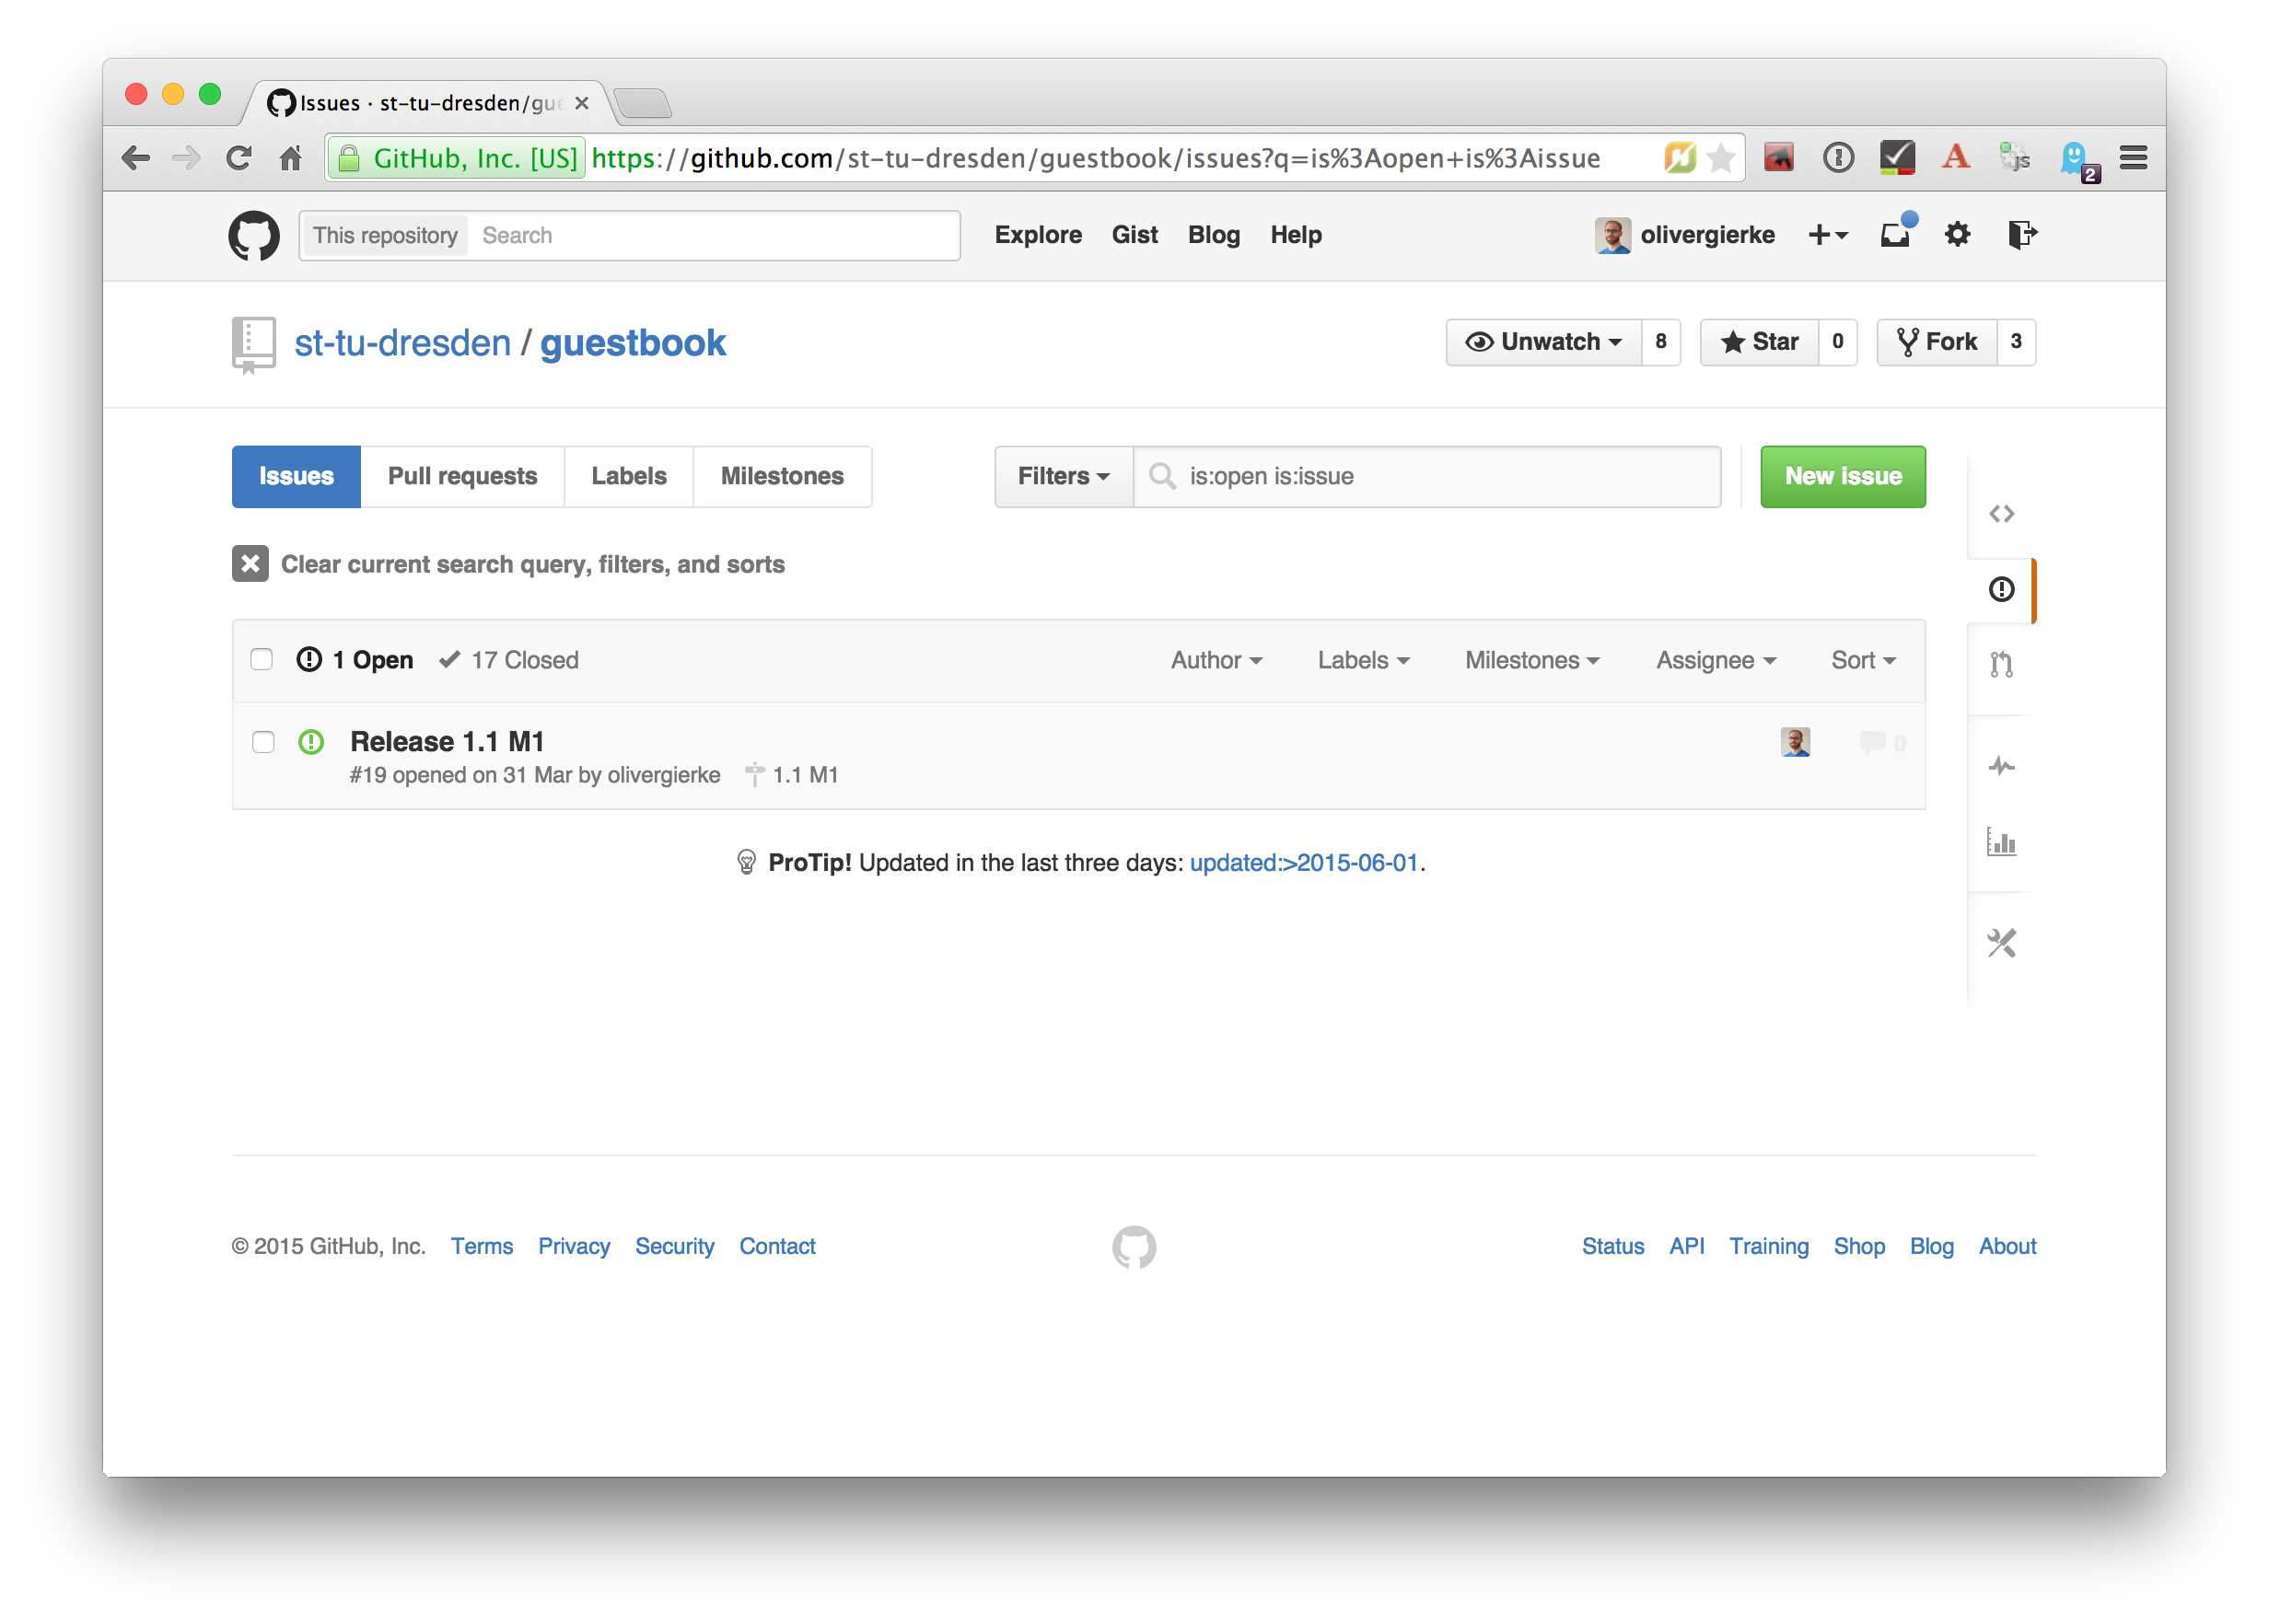
2.1. Tracking issues

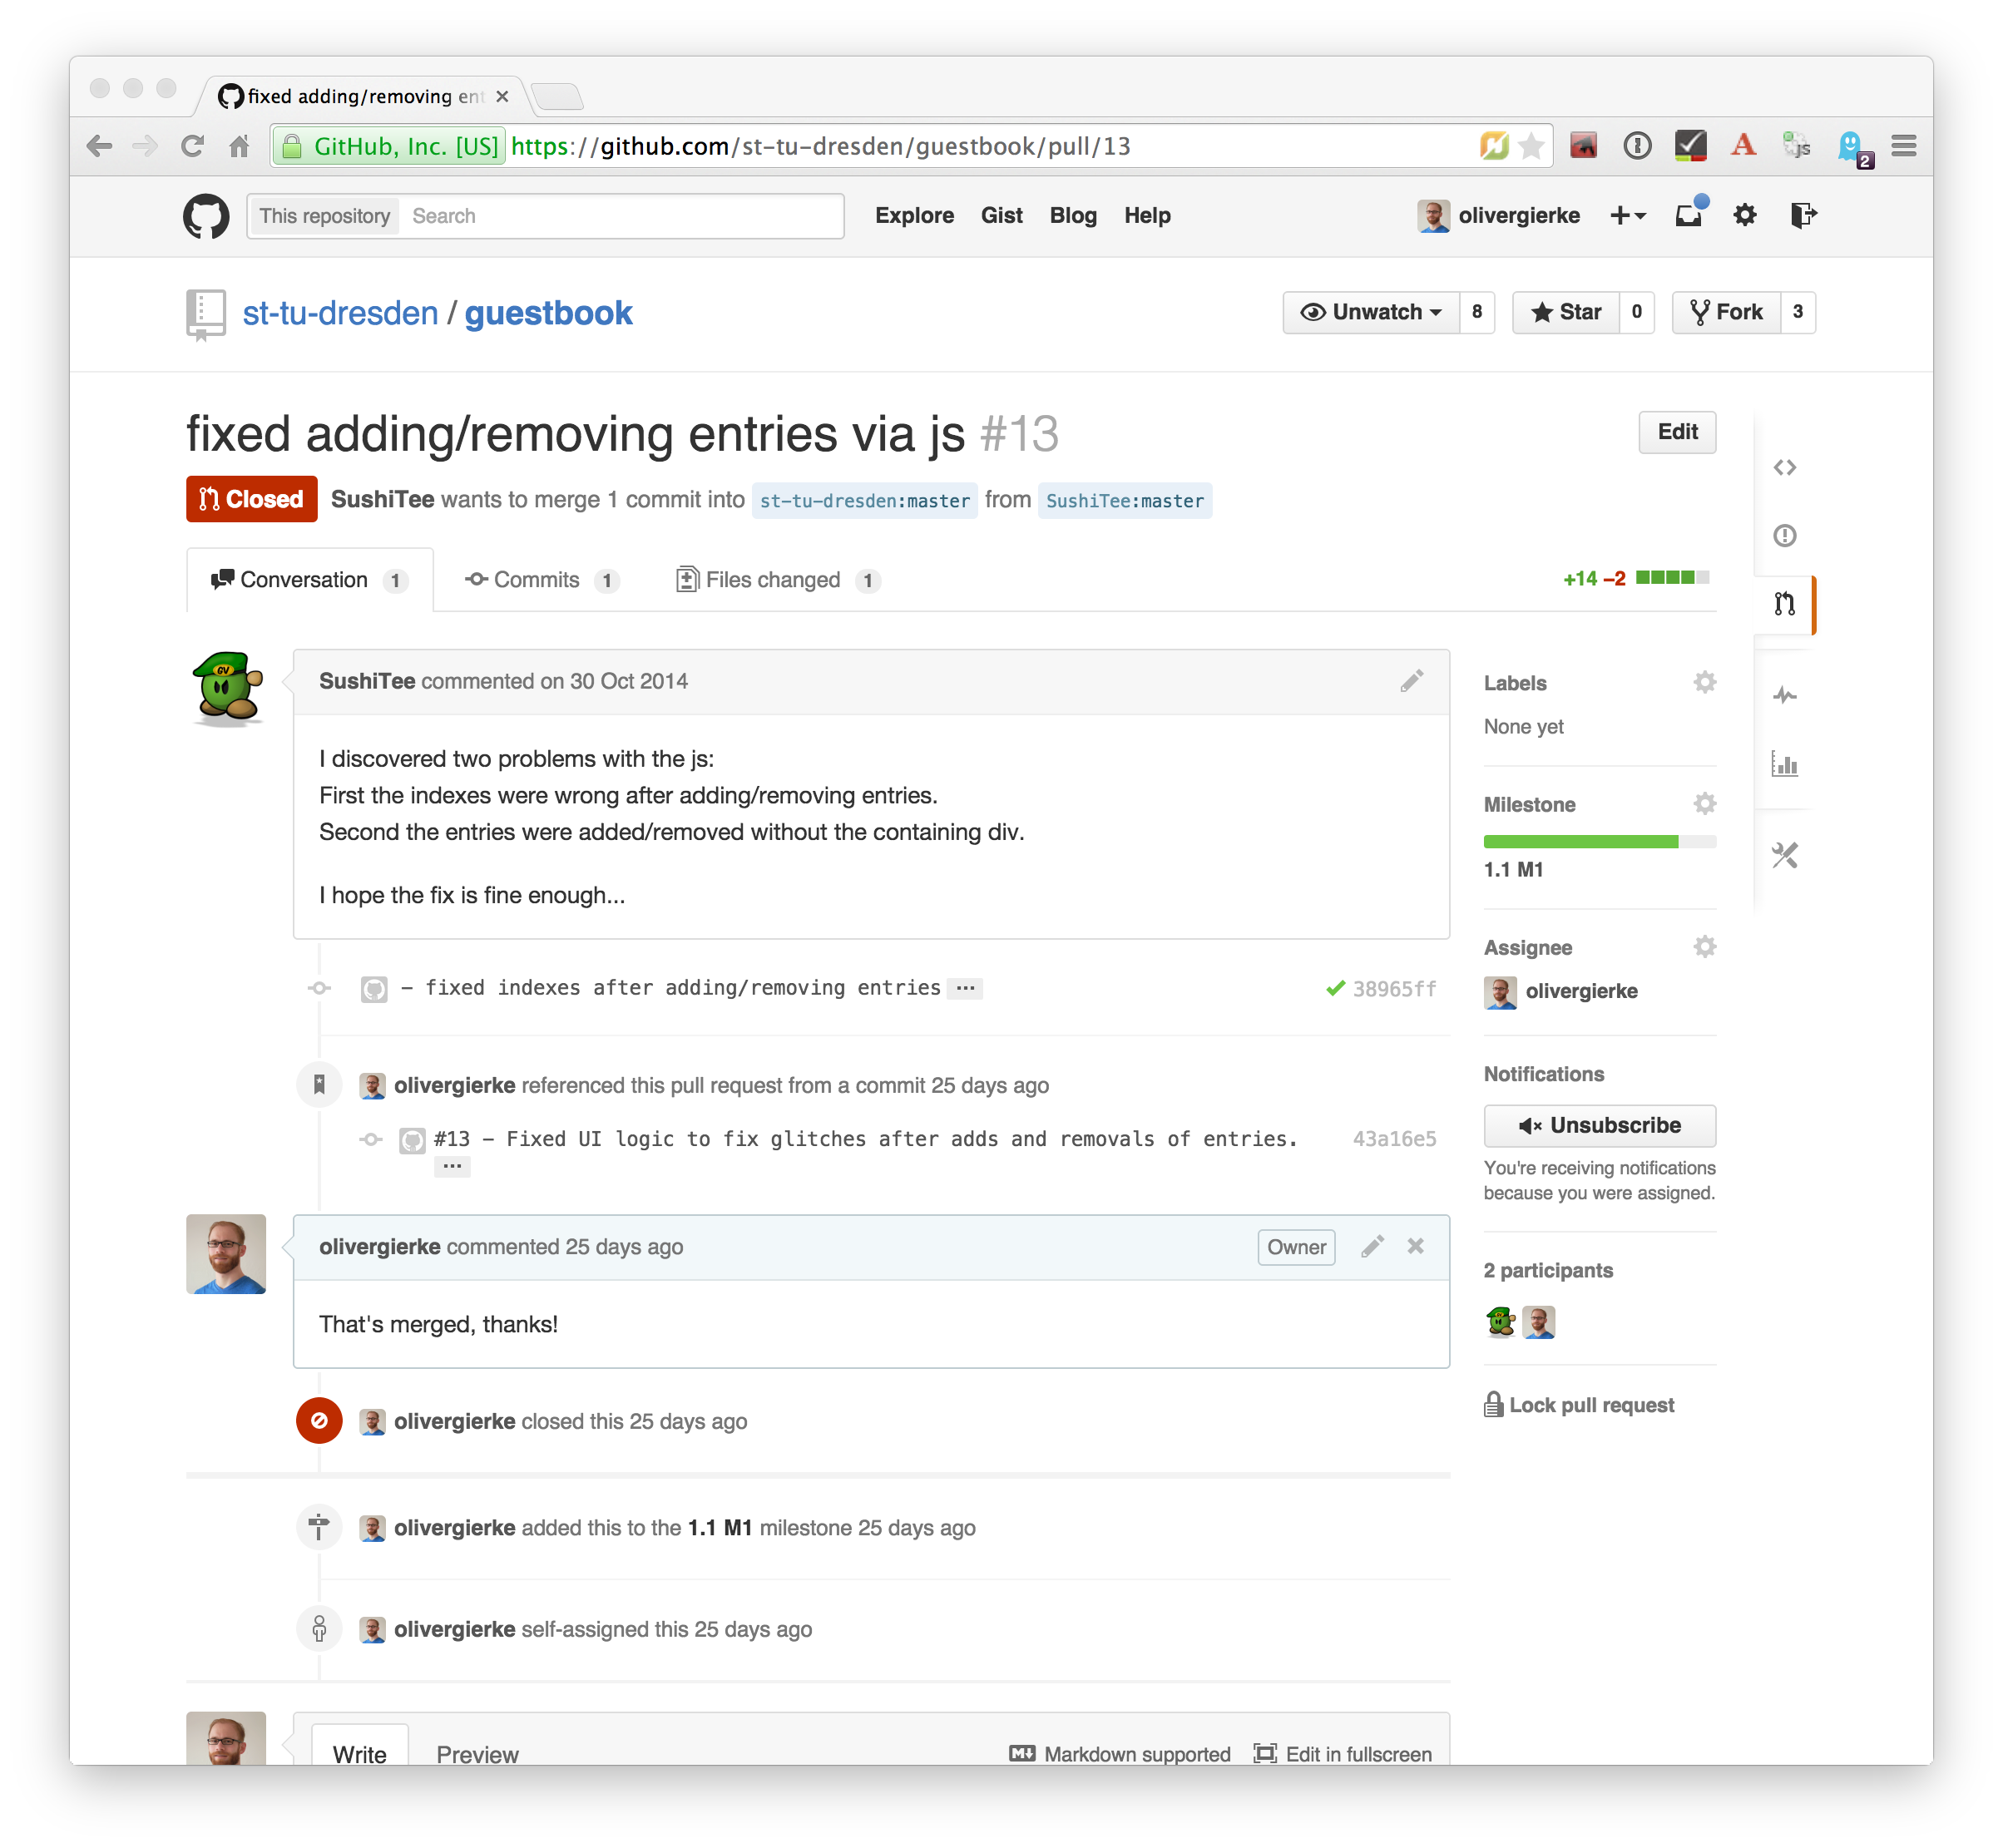
2.2. Pull requests
Pull requests are GitHub’s way of implementing code reviews:
Code review is systematic examination (often known as peer review) of computer source code. It is intended to find and fix mistakes overlooked in the initial development phase, improving both the overall quality of software and the developers' skills.[6]
A pull request is a post-commit variant of a code review which means the original developer pushes the code to be reviewed into branch in a remote repository. The GitHub UI then allows to create a pull request which formally expresses the desire of the contributor to get a set of changes integrated with the project. The team then reviews the changes, comments on them recommends further changes. Subsequent commits to the branch add up on the changes. Once the team reaches consensus about the scope and quality of the changes they are merged back into project by one of the team members.
2.3. Merges
Merges[7] are a crucial task in working with code in distributed teams. If changes that already have been merged overlap with changes to be merged the risk of so called merge conflicts arise. These usually have to be resolved manually by inspecting the conflicting changes and consolidating using a so called diff or merge tool.
Generally speaking it’s preferable to organize work — and thus the code — into parts that can be changed independently. Another option is to try to estimate the reach of changes for particular tasks and schedule them to be worked on subsequently.
2.3.1. General recommendations
-
Create issues per task — to be able to keep track of which changes relate to which task it’s best to create tickets for each of them. This allows you to refer to these tasks using the ticket identifiers.
-
Make sure changes in a commit / PR only target one task — Keeping track of which changes were made for which reason is significantly harder if a commit contains changes that relate to multiple tickets. Try to focus on changes for a dedicated task and commit early and often.
-
Create a feature branch per issue — To be able to switch tasks and keep the commit history of the master branch clean create feature branches that contain commits related to a particular ticket.
-
Keep feature branches small and short-lived — make sure, feature branches live for very limited time and don’t contain too many changes as they increase the probability for merge conflicts to occur. If you find yourself with huge changes in a feature branch, you might wanna rethink the granularity of tasks. Feature branches shouldn’t live for more than a couple of days.
-
Good commit messages — the only way for your colleagues to understand the reasoning behind a commit is reading the commit messages. Thus a "changed something" isn’t incredibly helpful. Describe what you changed and — even more importantly — why you changed what on a high level.
-
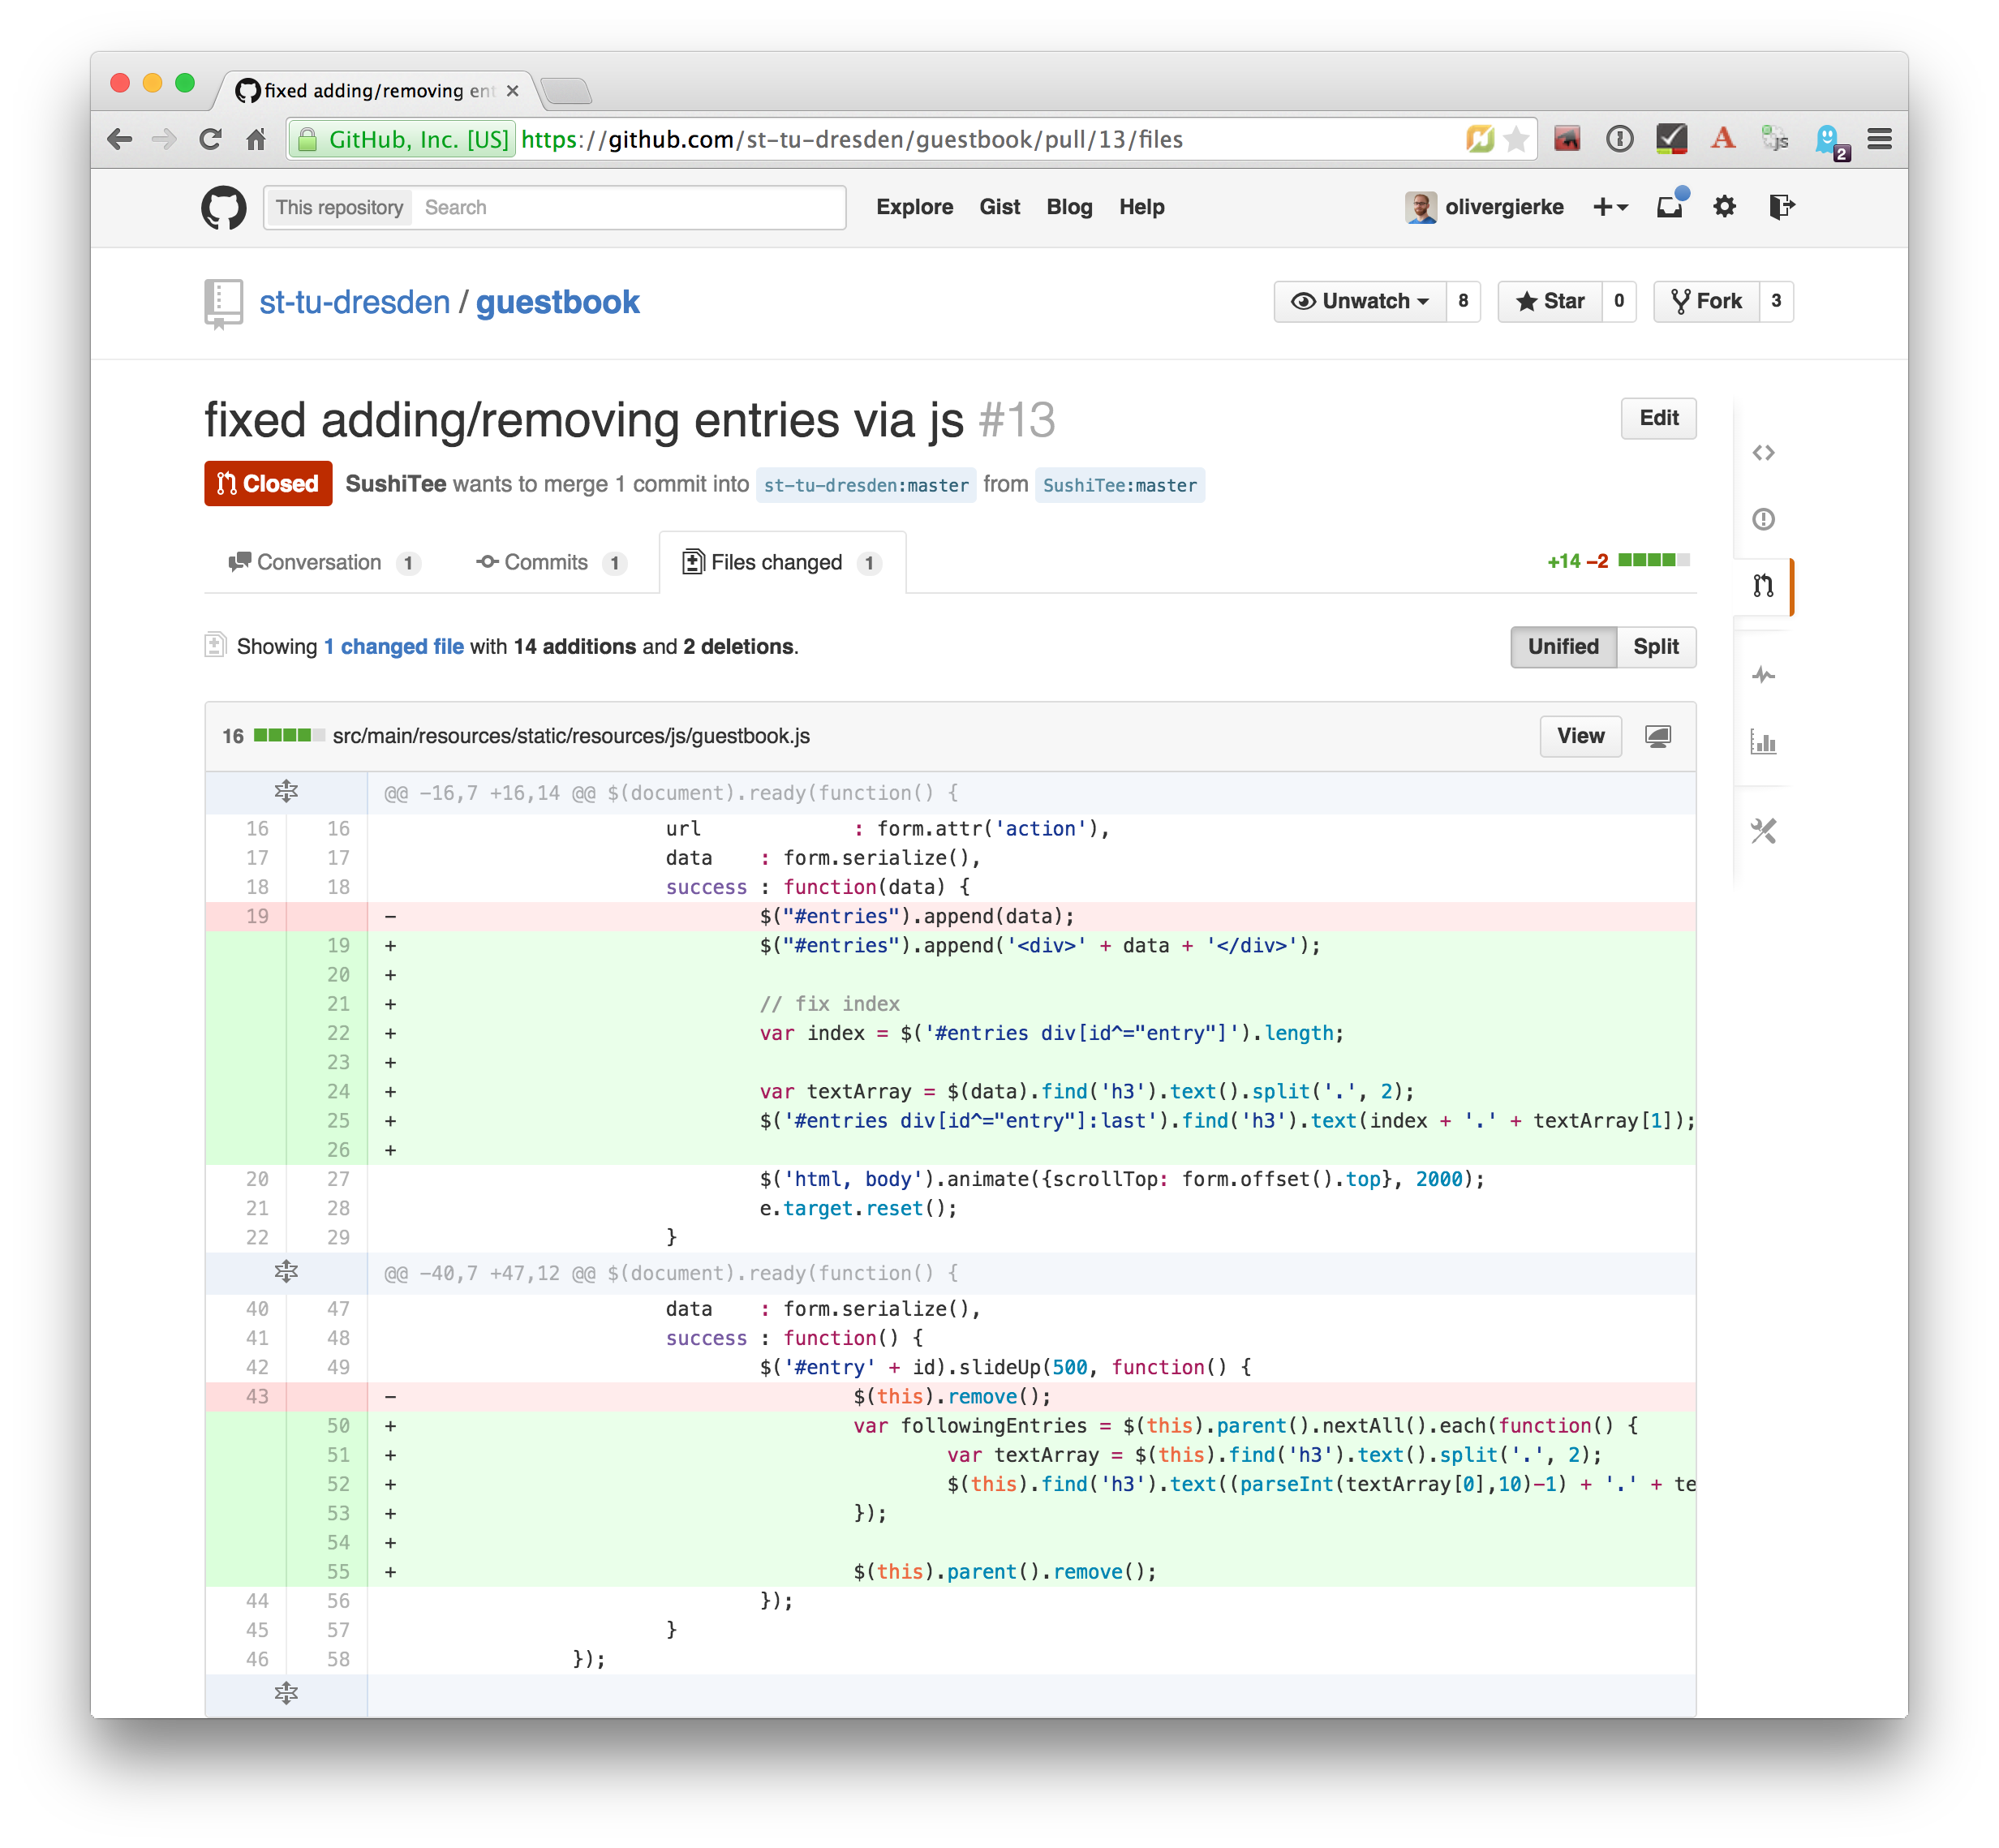
Refer to tickets from the code and commit message — GitHub detects ticket references (i.e.
\#4711) and links them from the tickets. It even supports keywords likefixesto automatically resolve a ticket when pushing the commit. An example of this can be seen in the lower third of the screenshot in The commit history of Salespoint in GitX.
3. Continuous integration
Continuous Integration (CI) is a software development practice where members of a team integrate their work frequently, usually each person integrates at least daily - leading to multiple integrations per day.[8]
Continuous integration is the practice of building a software system on a regular basis and thus require an automated build.
3.1. Travis
Travis[9] is a CI service for free to use with public GitHub repository that allows a build per commit.
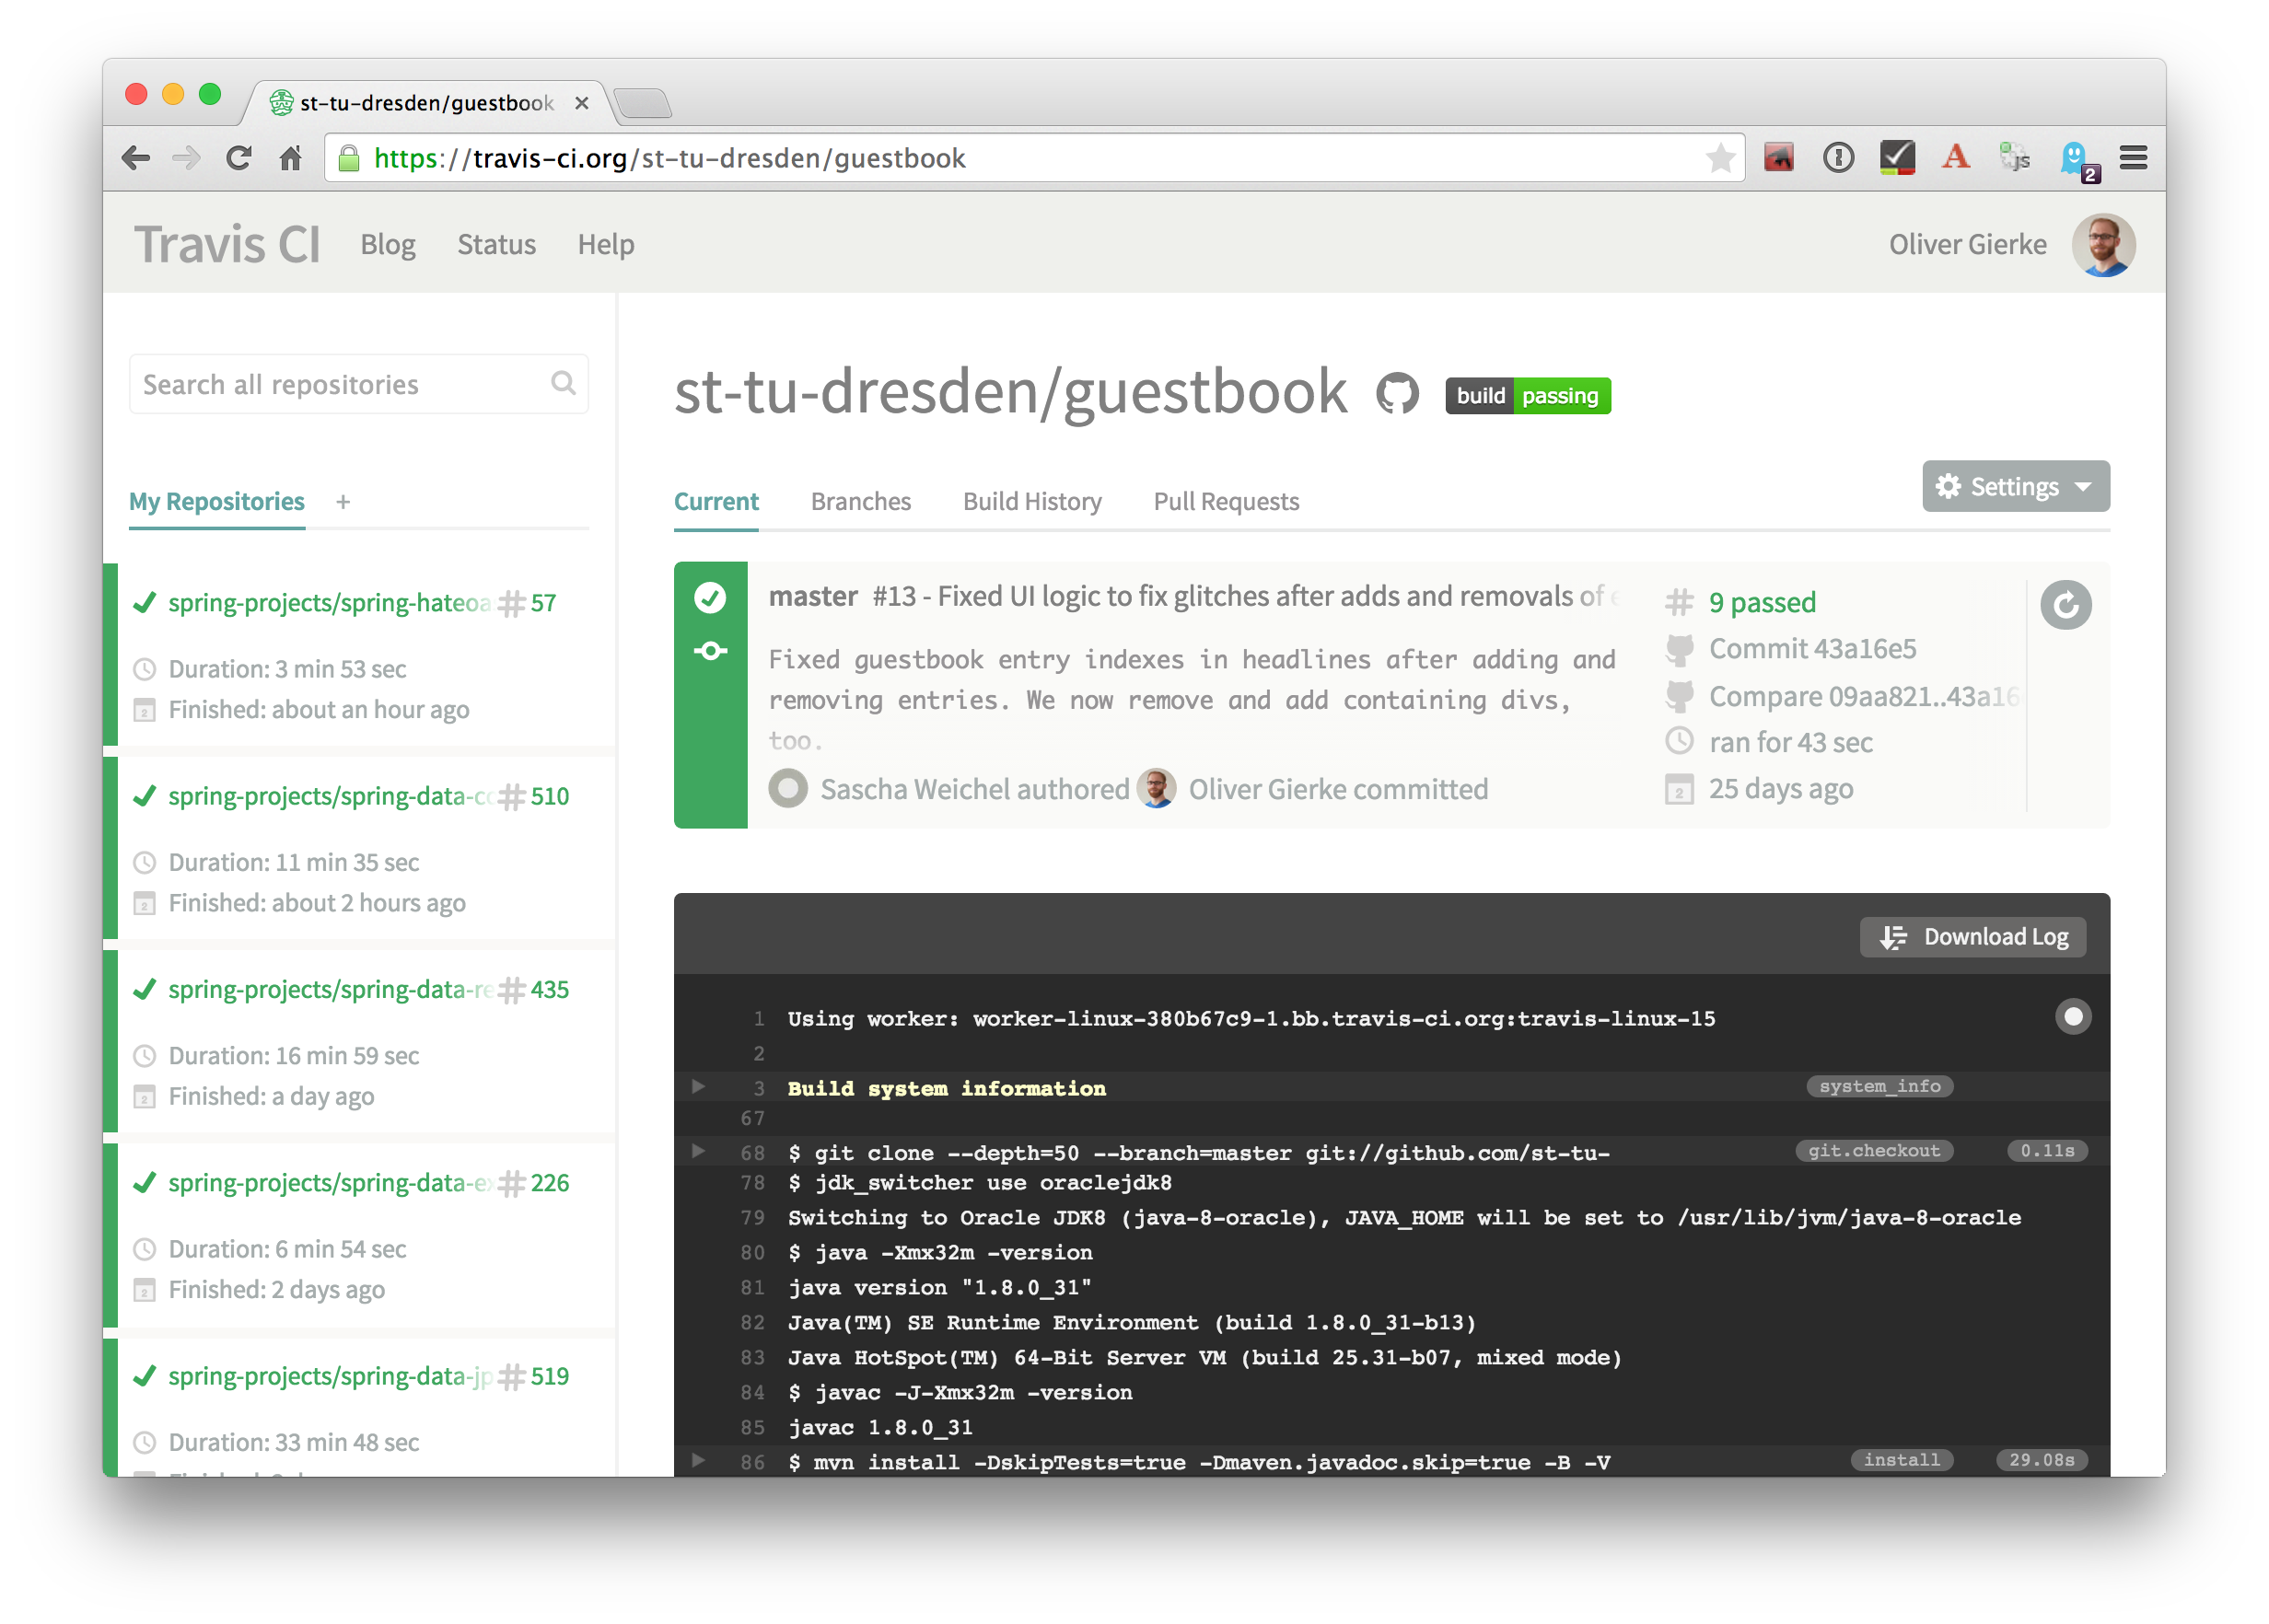
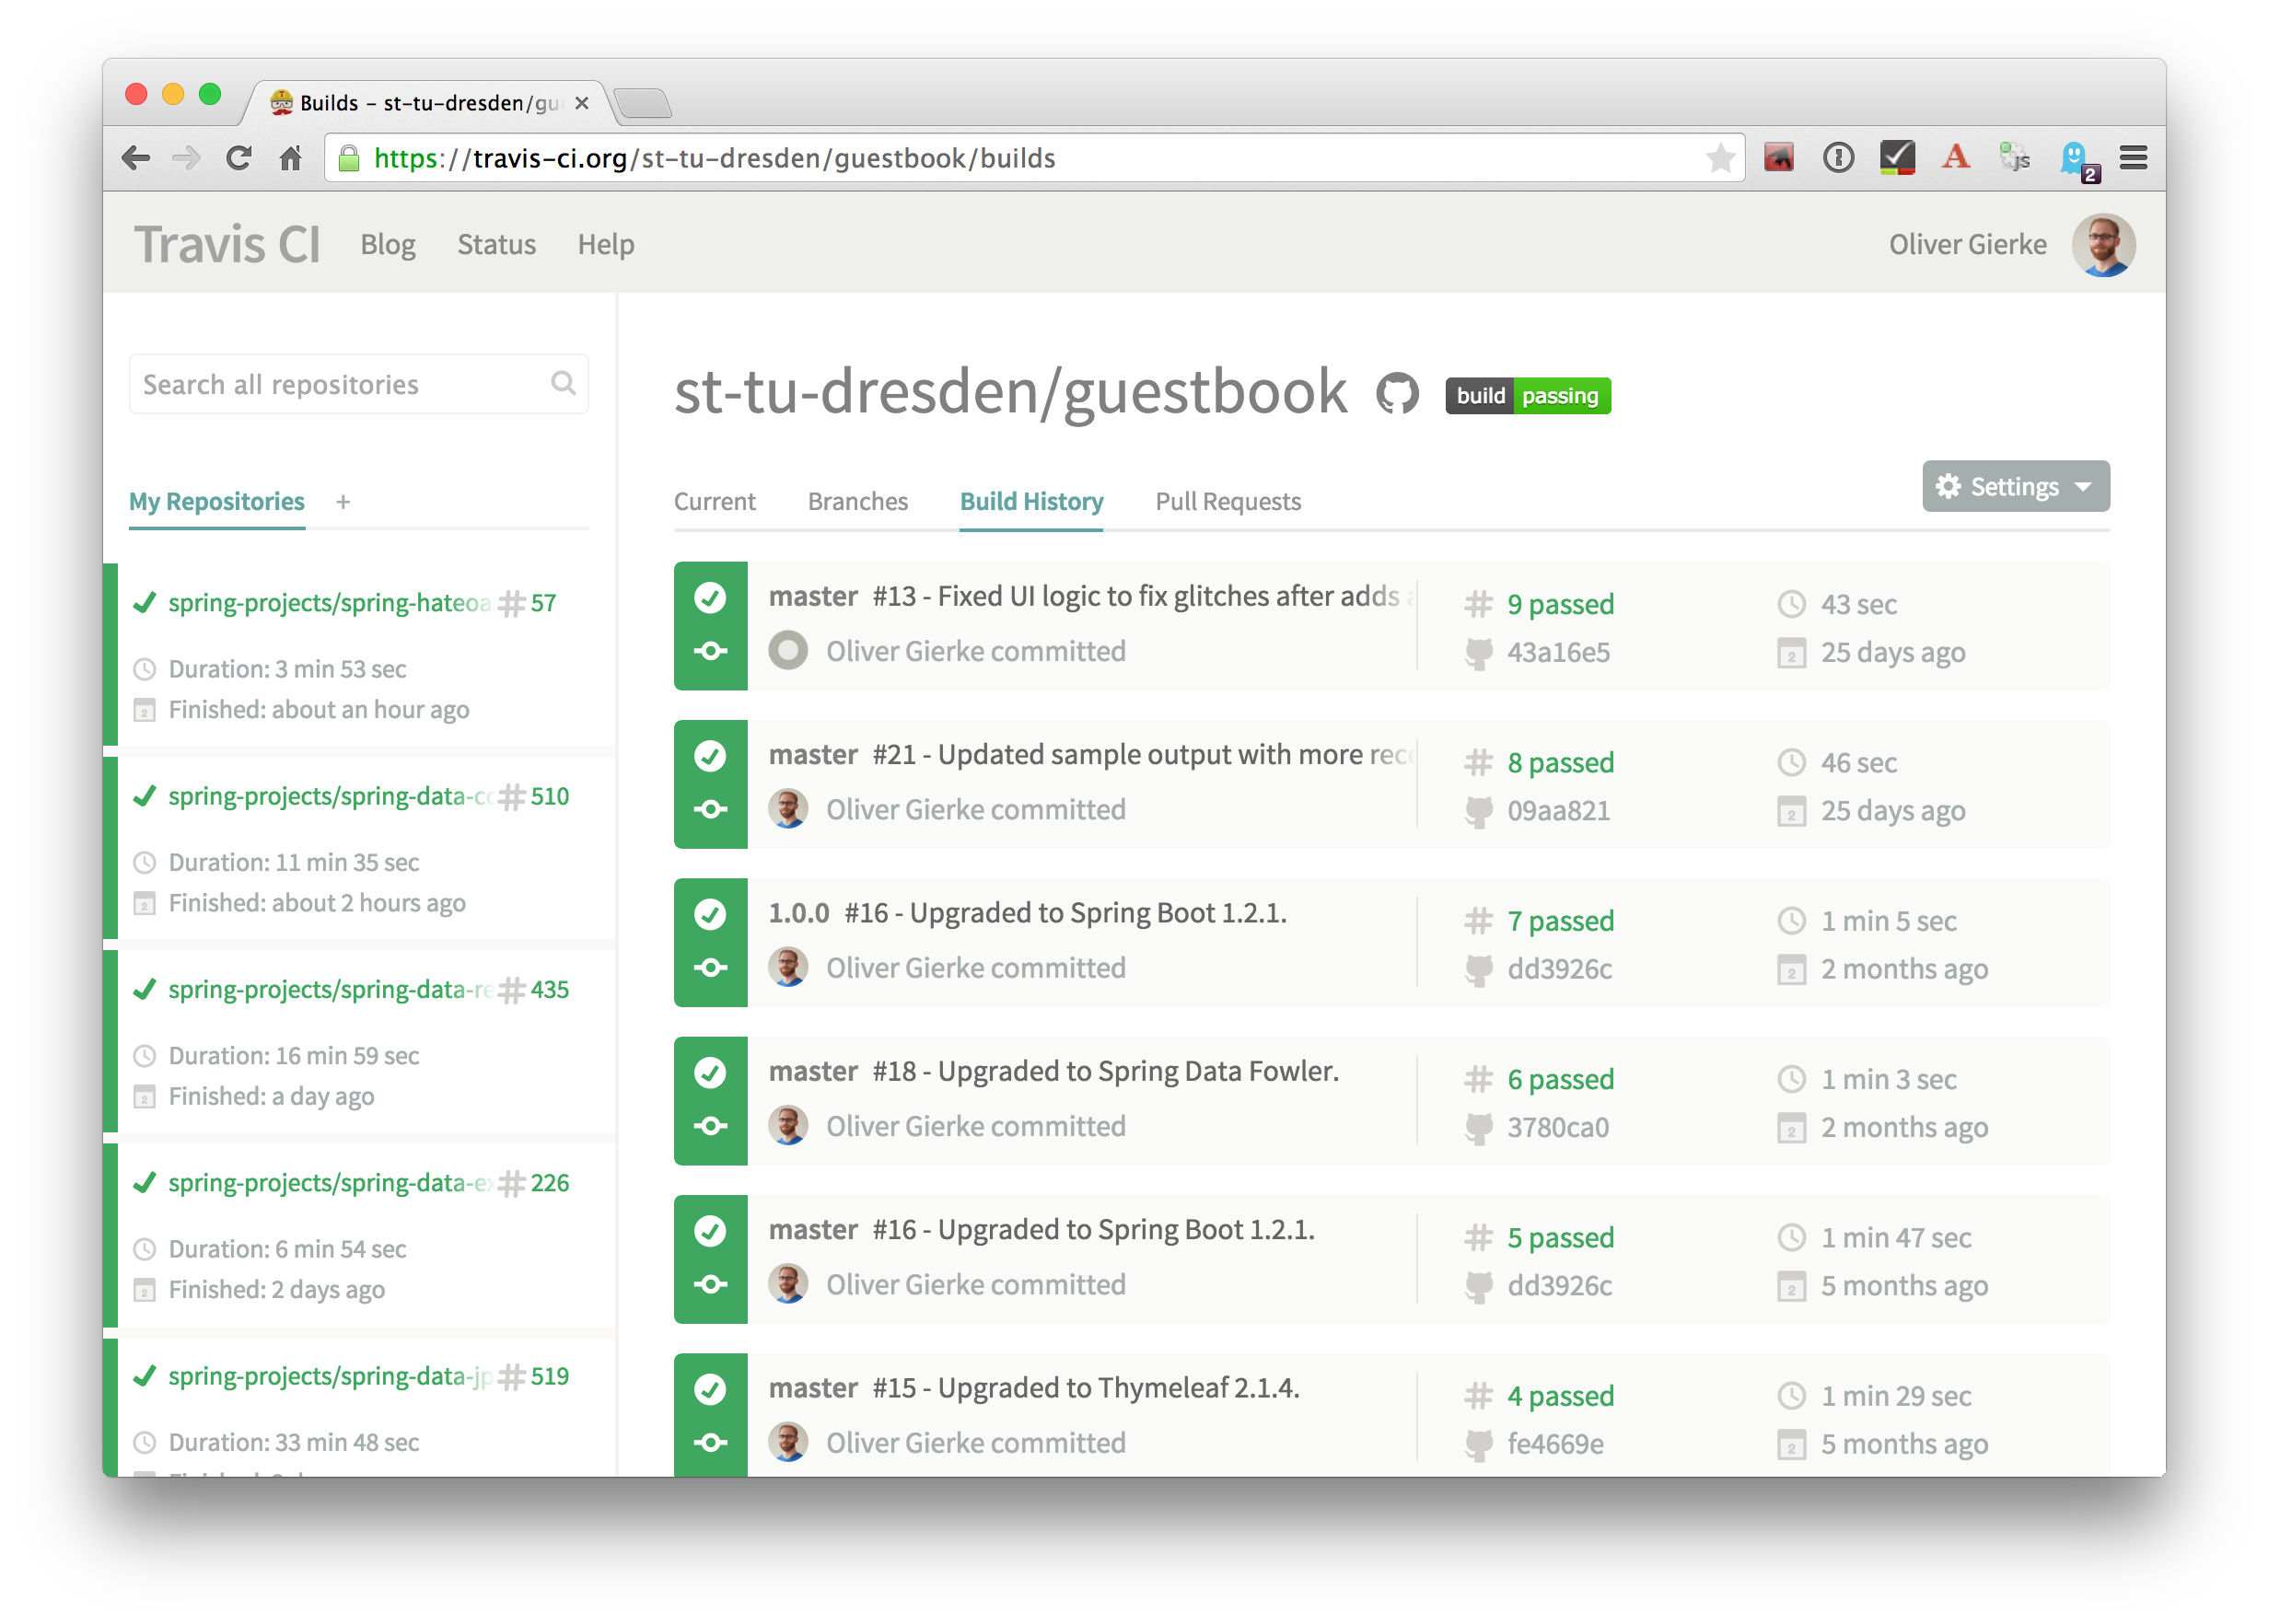
3.1.1. Configuration
Continuous integration requires the definition of which tasks to actually execute for a build. Travis inspects a YAML file named .travis.yml in the project root to pick up customizations to the build.
language: java (1)
jdk:
- oraclejdk8 (2)| 1 | Defines the project to require a JVM to run and triggers default build execution for Java projects. |
| 2 | Defines the project to be build with Java 8. |
4. Documentation
Software systems usually ship with documentation of various kinds:
-
End-user documentation — documents how to interact and work with the running systems and describes it from an end-user’s point of view.
-
Developer documentation — documents architecture and design decisions made during the course of development. It mostly targets (future) developers of the system.
Developer documentation itself usually consists of a variety of documentation formats, too:
-
Source code comments — in the Java space usually JavaDoc. This kind of documentation is close to the code and turned into externally accessible HTML during the build.
-
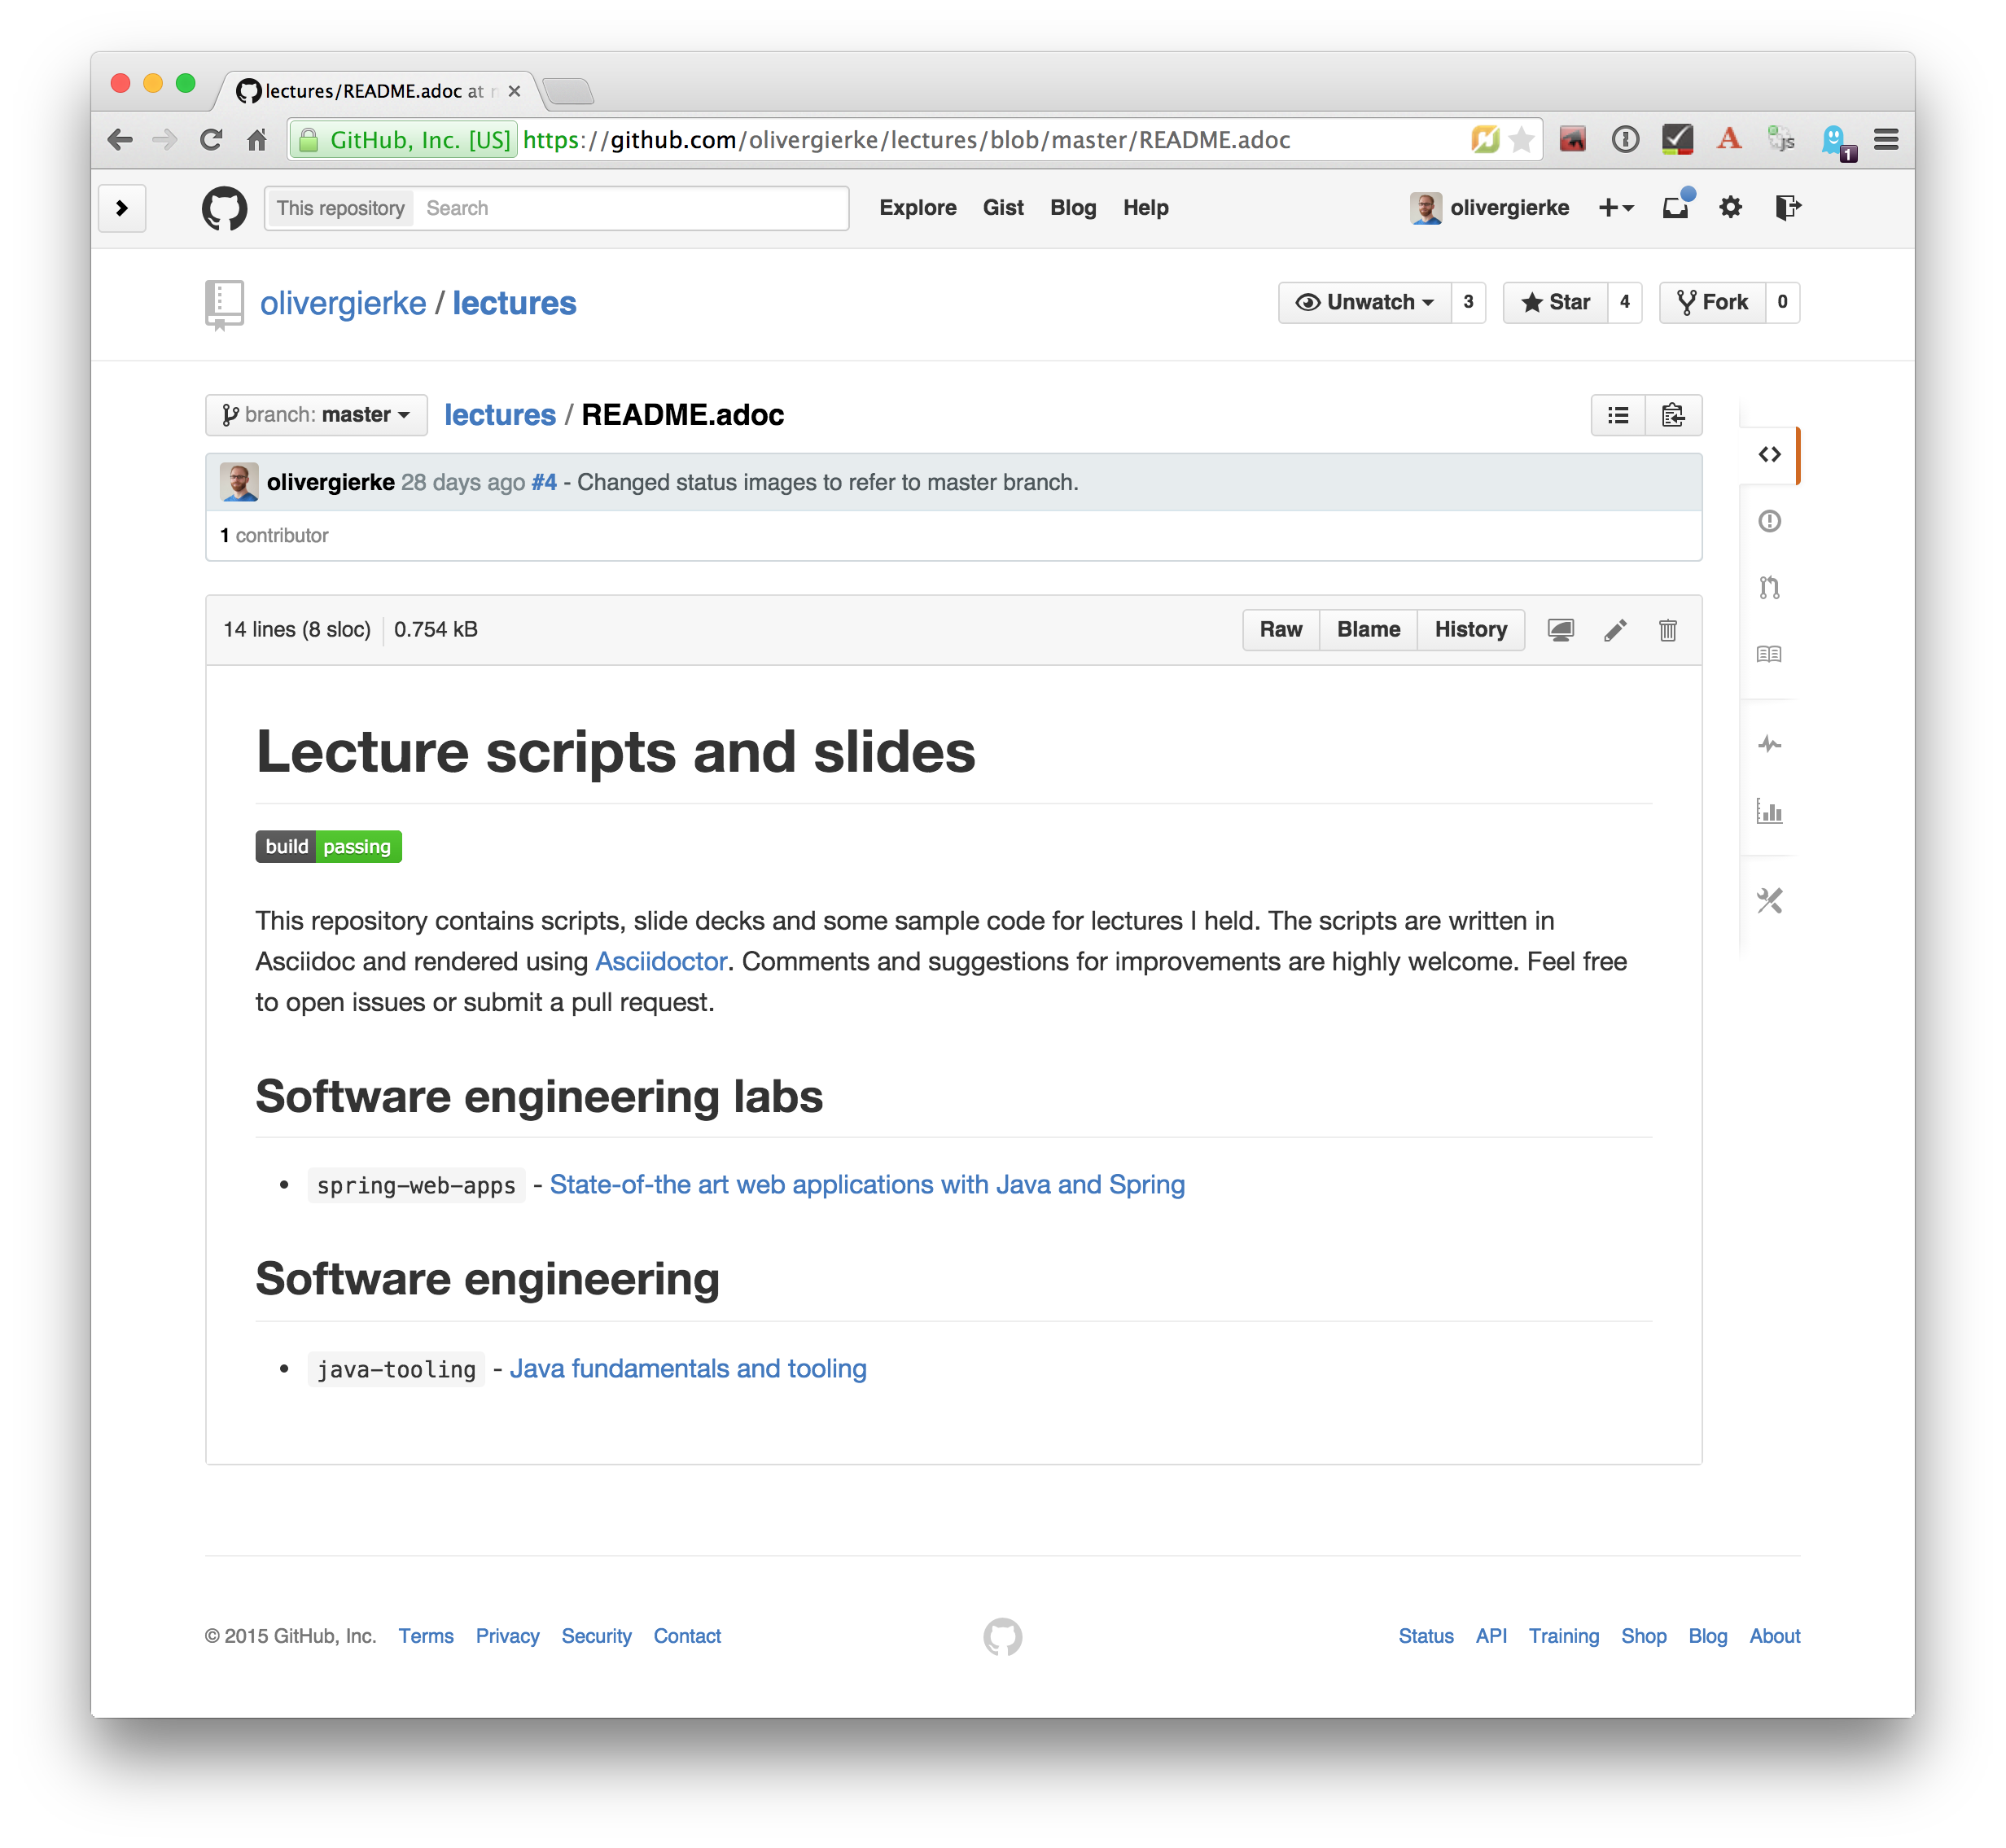
Readme — Fundamental, human readable instructions to build and run the software. Located at the repository root and automatically rendered by GitHub.
-
Reference documentation — Higher level documentation about design and architecture decisions. Can be built with the project using the build system. Alternatively — when working with GitHub — the wiki can be used.
The latter two beg the question of which technical format to use for writing. Selecting a suitable format should be driven by the following factors:
-
Distraction-free writing — the format should be easily editable, don’t make you think but at the same time support all the necessary style elements that might be needed.
-
Comprehensive tooling for processing — the format should be easily transformable into distribution formats consumable by mere mortals (single-sourcing).
4.1. Asciidoc(tor)
AsciiDoc is a text document format for writing notes, documentation, articles, books, ebooks, slideshows, web pages, man pages and blogs. AsciiDoc files can be translated to many formats including HTML, PDF, EPUB, man page.[10]
Asciidoc shines because of its simple syntax but more complete set of structural elements available. Markdown is a decent choice for very simple documents, too, but lacks important structural elements like tables, footnotes, etc.
As Asciidoc is a simple text format, documents can be edited using any text editor. A lot of the popular ones these days (Sublime Text, Atom etc.) even have dedicated support for syntax highlighting etc.
A fast text processor & publishing toolchain for converting AsciiDoc to HTML5, DocBook & more.[11]
Asciidoctor is an open source implementation of Asciidoc and provides tools and build system integration to build human-readable versions of the documentation.
4.1.1. How to render Asciidoc files?
A very easy way to preview Asciidoc files is the Asciidoctor.js Live Preview[12]. Simply drag an Asciidoc file into the browser and the plugin will render an HTML preview of the file.
For a build on the command line, install Asciidoctor as described in its reference documentation[13].
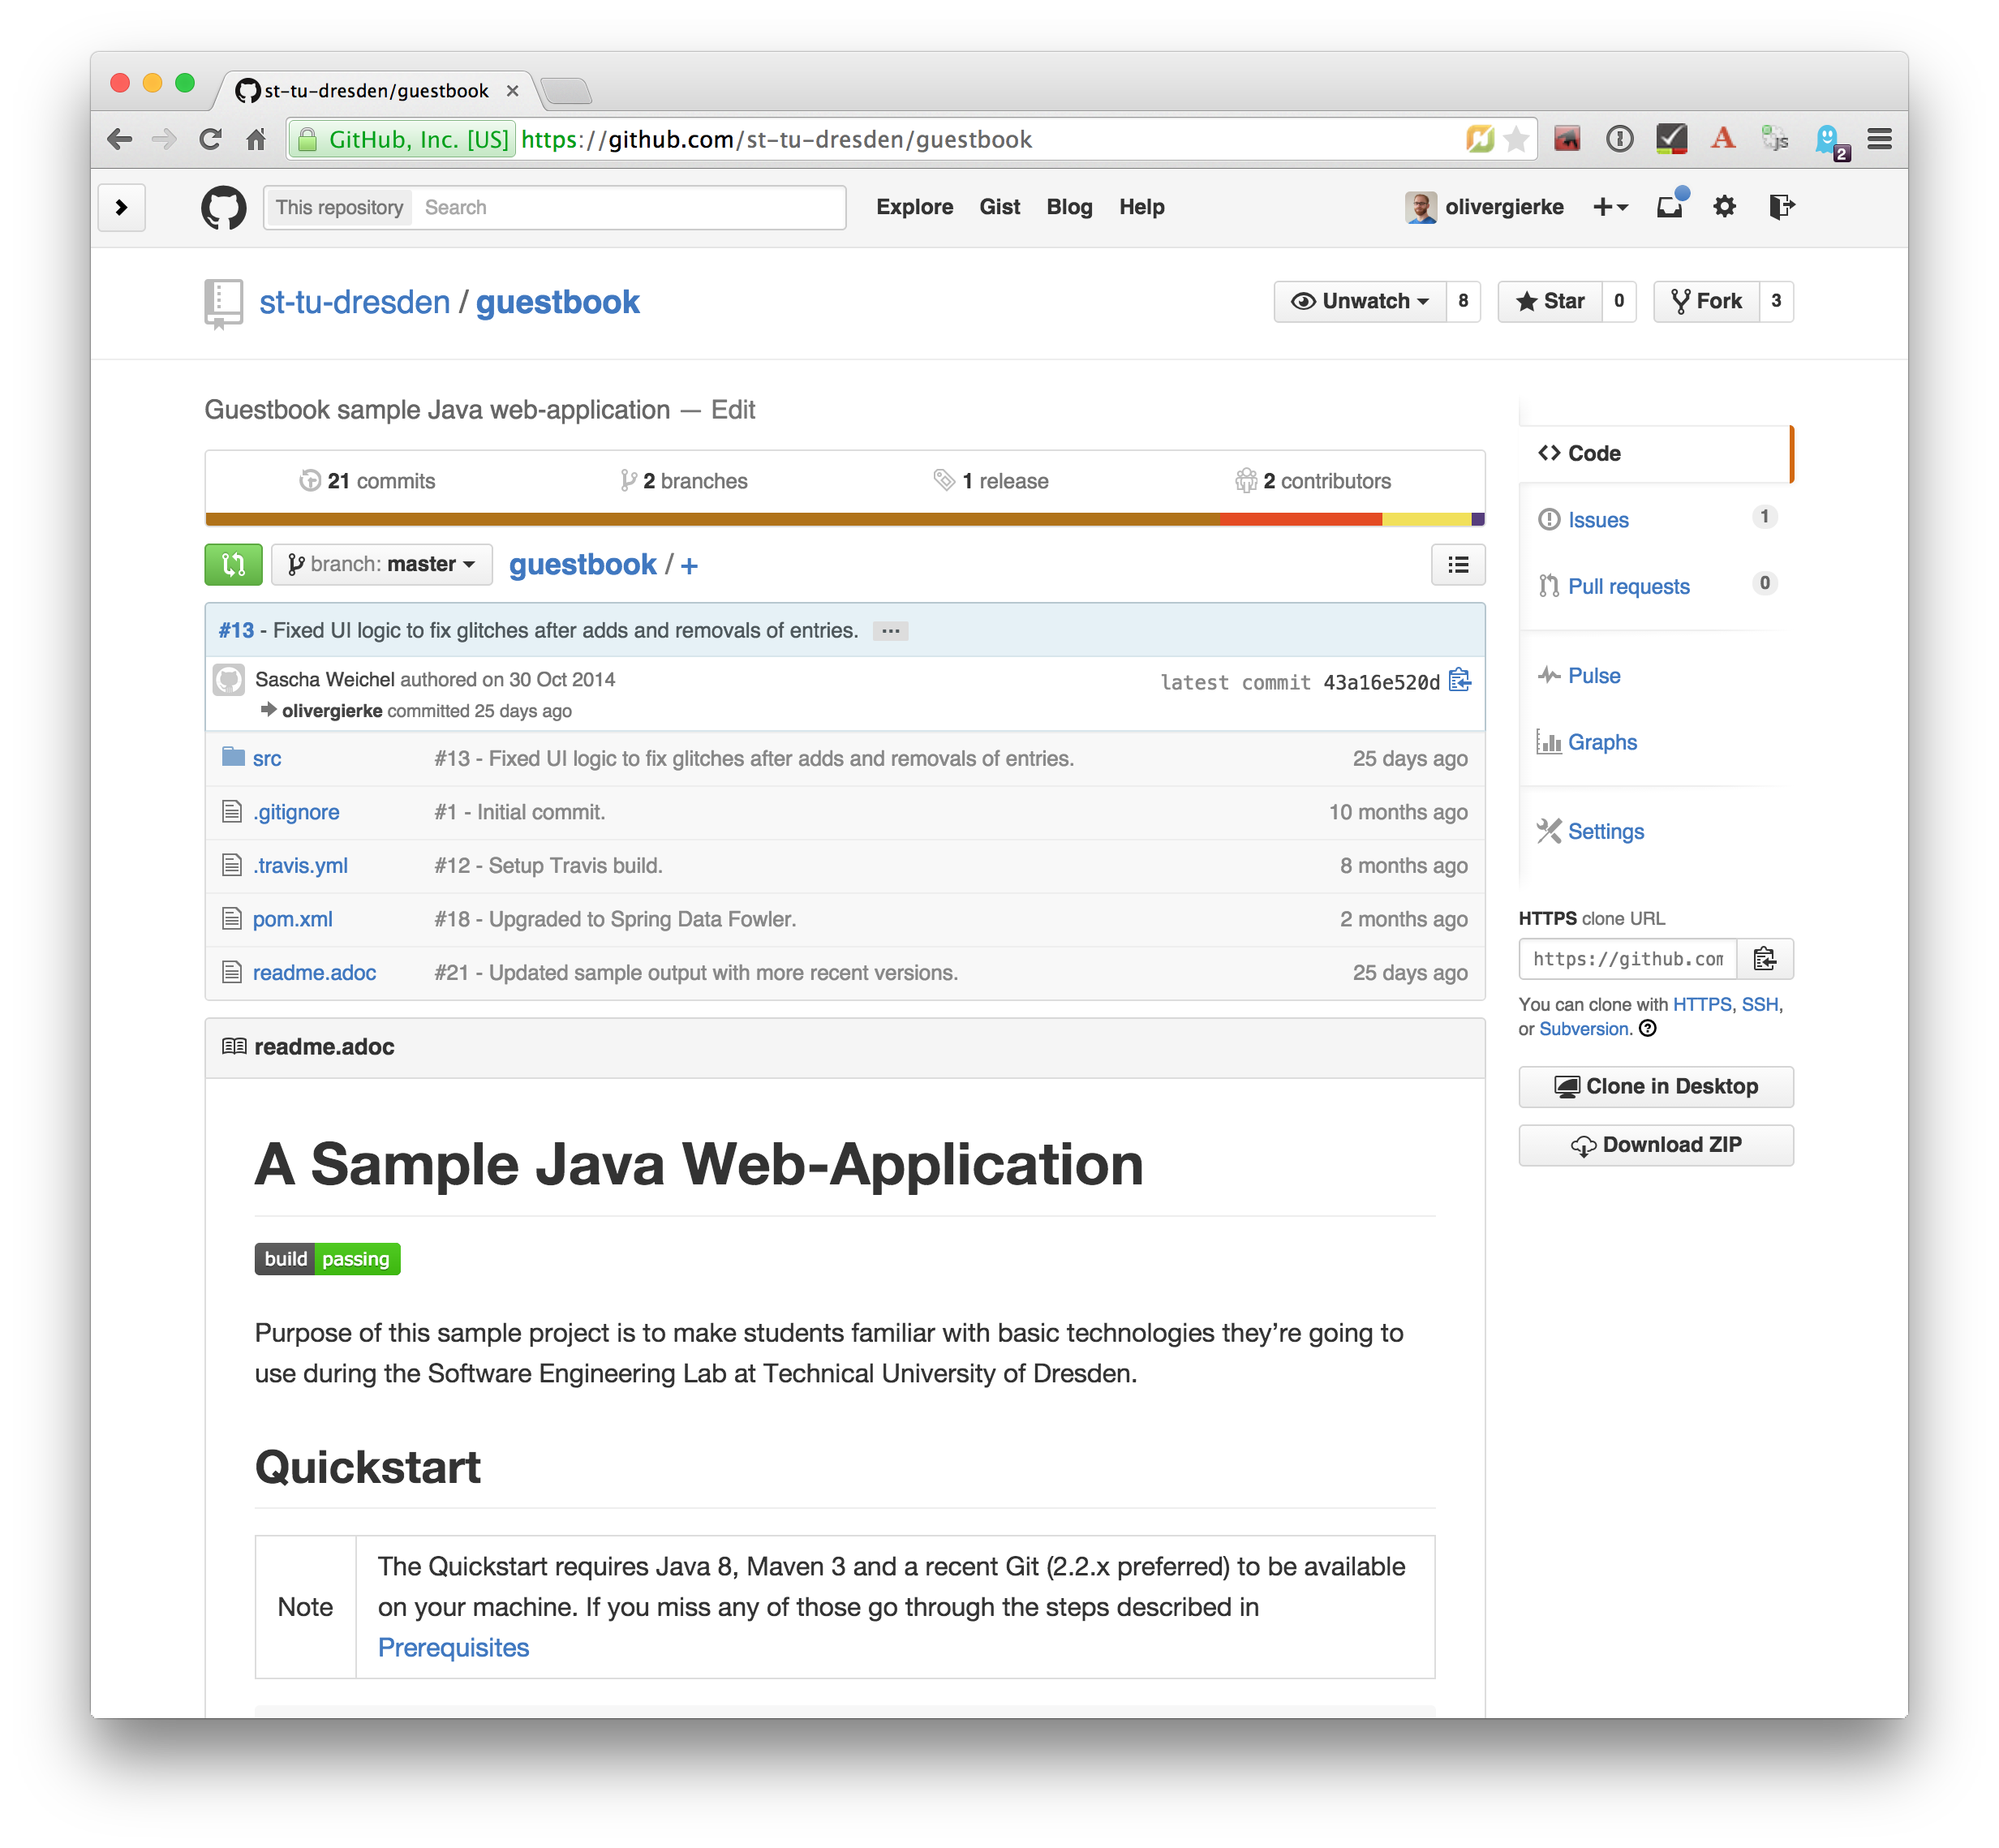
GitHub supports Asciidoc out of the box and automatically renders Asciidoc files when previewing them. E.g. the readme of the repository hosting this lecture is written in Asciidoc:
Last but not least documentation can be rendered during the project build as plugins for Java build systems (Maven, Gradle) exist.
5. Recommendations from the Twittersphere
See this conversation for all replies.
If you had to teach newbies 2 or three fundamental technical things about collaborative software development, what would that be?
Technically I would say DVCS/social coding and reproducible builds/dependency mngmt. And TDD of course to not break things.
Commit (and push) often / keep changes from master in sync to avoid the merge day / learn command line first.
If stuck on a problem for longer than 30 minutes ASK!!!!
Ask until you really understand the problem. Learn to give constructive feedback. You don’t own the code but the team does.